1. F10 to get into render setup and select MentalrayDaylighting High. Just click 'OK' if it ask for anything.
 2. Enable Final Gather > choose your preset... low, medium, high
 3. If you got a workstation, go for global illumination. Great fr interiors. If not, doesn't matter. I didn't select this option due to the long ass rendering time. ( which I can fix in Photoshop)
 4. Check the options for memory management.
 5. Close 'Render Setup' window and press '8' for Environment Control. In the ExposireControl, choose Logarithmic Exposure Control'.
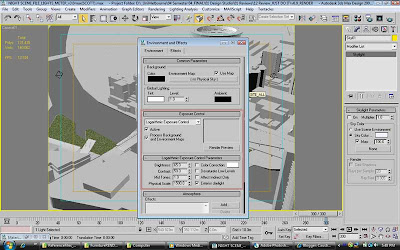 6. Place direct light on target object and use the settings below.
  7. You may wanna use sylight. You can try turning it 'on' first and do a test render after step12.
 8. Go to Render Setup again (F10), Common Parameters tab > Area to Render > select 'Crop'.
9. Right click the 'Camera' or 'name of vewport', and enable 'Show Safe Frame' and 'Edit Render Region'
 adjust render region to test render
 10. You're done, press 'F9'
 Okay it sucks... i know... that's where photoshop comes in handy
 11. In photoshop, select Image > Levels, increase the brightness contrast input levels (the small little white arrow.
TA DAH~!!!~
 Not great.. but hei... it's fast and simple.
Go here, if you want some simple Vray settings.
by the way..
3s MAX 2010 default settings for mental has a quality similar to Vray.


